<SVN 서버 구축>
1. Download_VisualSVN 에서 VisualSVN Server 를 다운로드합니다.
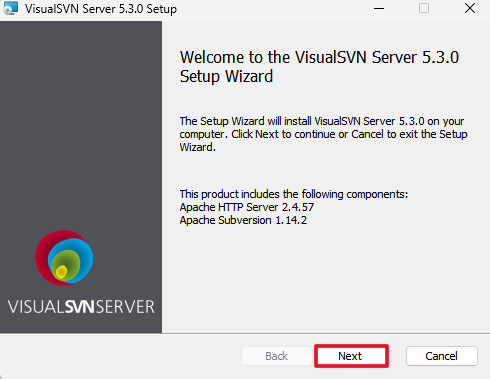
2. 다운로드 받은 설치 파일을 실행 후 Next 를 클릭합니다.
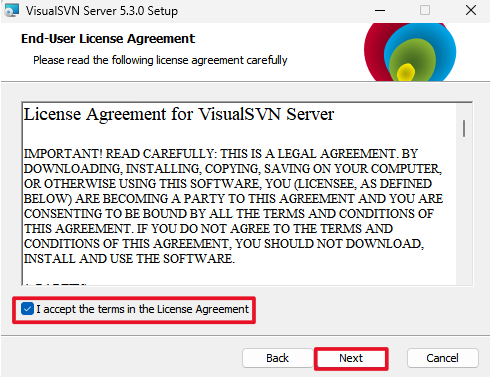
3. I accept the terms in the License Agreement 를 체크한 후 Next 를 클릭합니다.
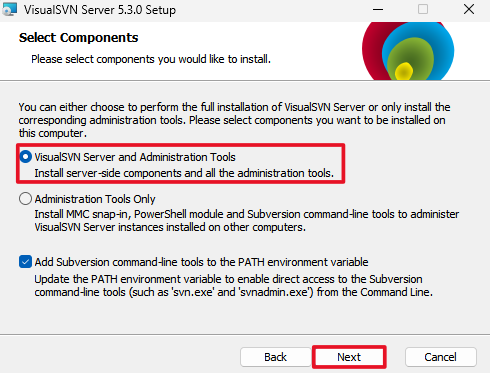
4. VisualSVN Server and Administration Tools 를 체크한 후 Next 를 클릭합니다.
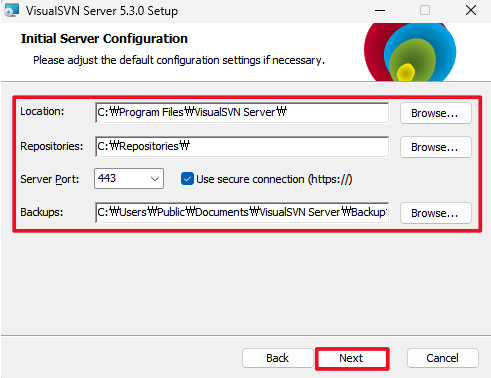
5. 설치 위치, 저장소 위치 그리고 백업되는 파일들의 저장 위치를 지정한 후 Next 를 클릭합니다.
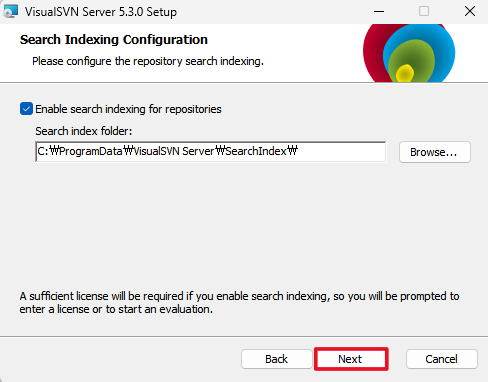
6. Next 를 클릭합니다.
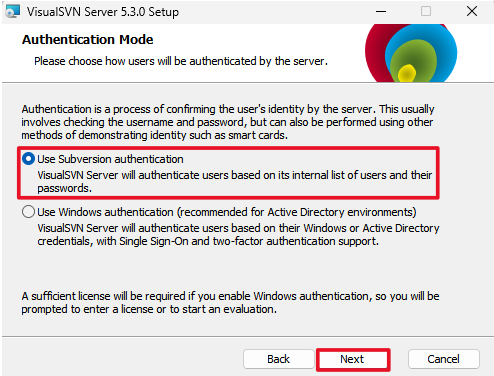
7. Use Subversion authentication 을 체크한 후 Next 를 클릭합니다.
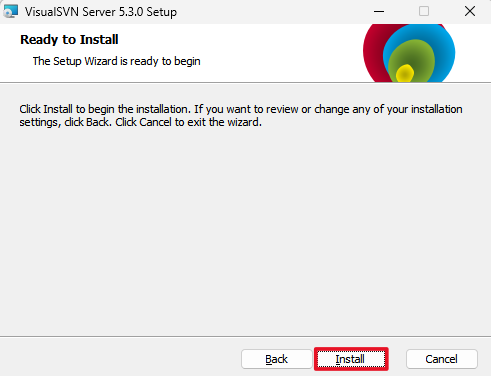
8. Install 을 클릭합니다.
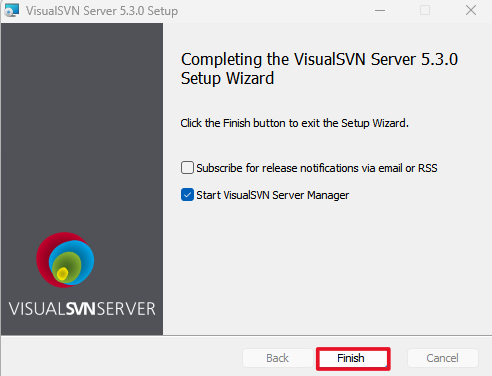
9. Finish 를 클릭하여 설치를 종료합니다.
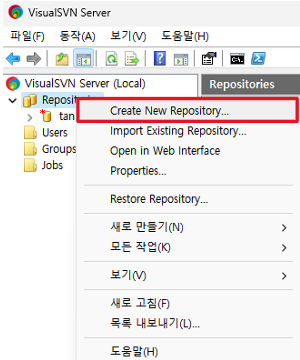
10. 설치가 완료되면 먼저 저장소를 만들어야 합니다. Repositories 에서 마우스 우클릭한 후 Create New Repository 를 클릭합니다.
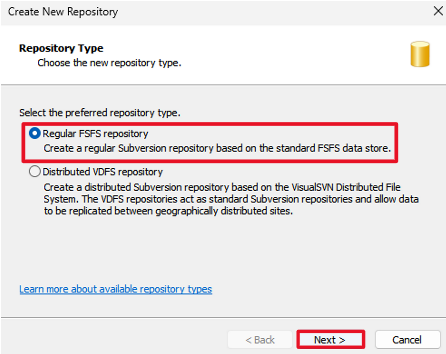
11. Regular FSFS repository 를 체크한 후 Next 를 클릭합니다.
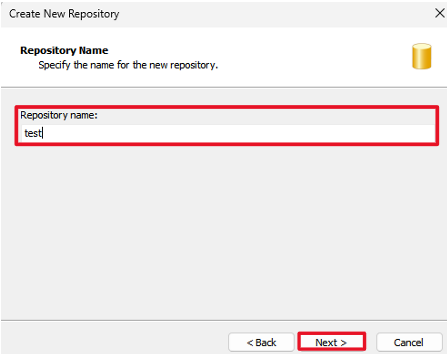
12. 생성할 Repository 의 이름을 지정한 후 Next 를 클릭합니다.
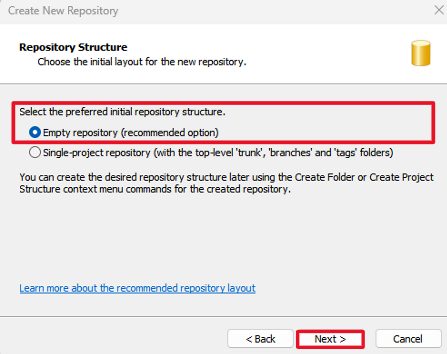
13. Empty repository 를 체크한 후 Next 를 클릭합니다.
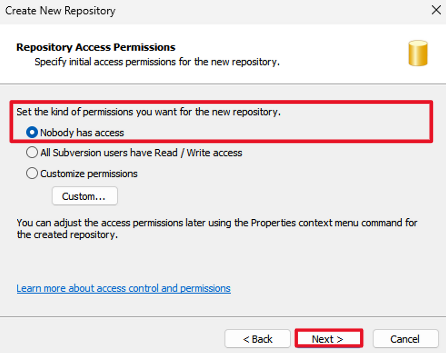
14. Nobody has access 를 체크한 후 Next 를 클릭합니다.
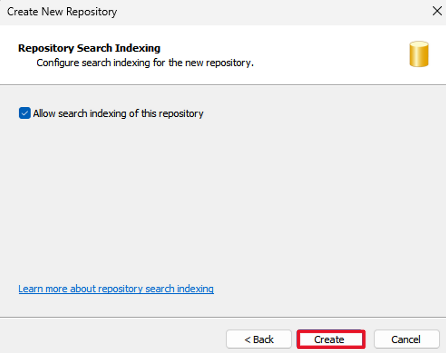
15. Allow search indexing of this repository 를 체크한 후 Create 를 누르면 저장소 생성이 완료됩니다.
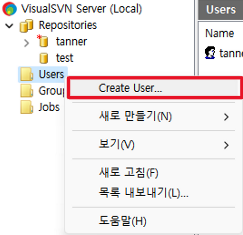
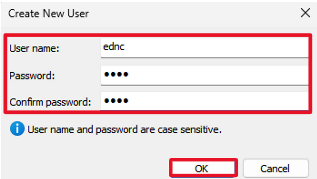
16. 다음으로 사용자를 추가하는 방법입니다. 먼저 Users 에서 마우스 우클릭한 후 Create User 를 클릭합니다.
17. User 이름과 Password 를 지정하고 OK 를 클릭합니다.
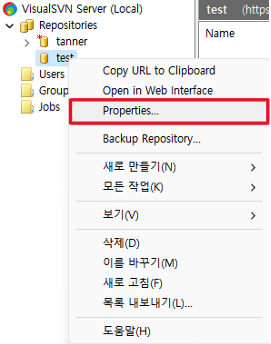
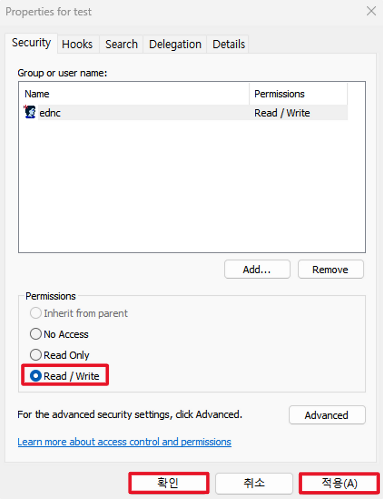
18. 여기까지 사용자 추가를 완료했으면 사용자에게 권한을 부여해야 합니다. 생성한 Repository 에서 마우스 우클릭한 후 Properties 를 클릭합니다.
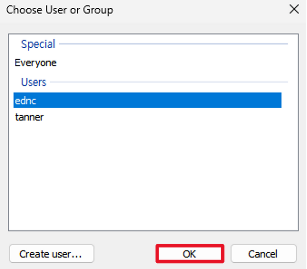
19. Add 를 눌러 추가한 사용자를 선택하고 OK 를 클릭합니다.
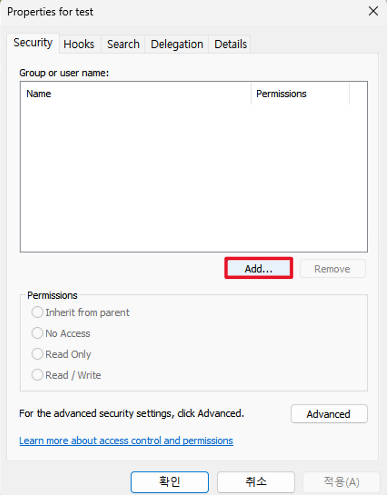
20. 추가한 사용자가 아래와 같이 나오면 Permission 은 Read / Write 로 선택한 후 적용을 누른 다음 확인을 클릭합니다.
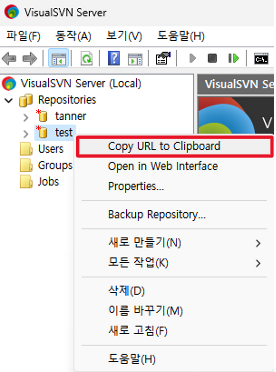
21. 다음으로 저장소 URL 을 사용자에게 공유하는 방법입니다. 생성한 저장소에서 마우스 우클릭한 후 Copy URL to Clipboard 를 클릭합니다.
이때 복사된 URL 은 https://hostname/svn/test 와 같은데 hostname 부분을 ip 로 변경해 https://192.168.x.x/svn/test 와 같은 형태의 주소를 사용자에게 공유하면 다른 PC 에서 접속이 가능하게 됩니다.
<SVN 유저 사용>
1. 먼저 Download_TortoiseSVN 에서 SVN 사용자용을 다운로드합니다.
2. 다운로드 받은 설치 파일을 실행한 후 Next 를 클릭합니다.
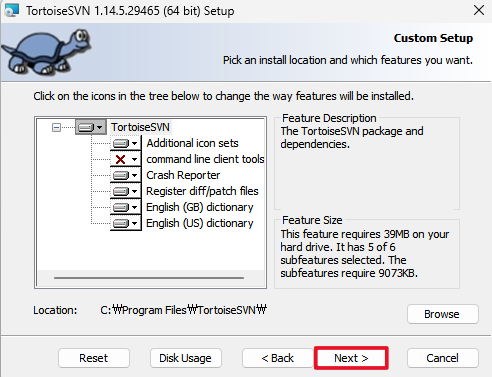
3. Next 를 클릭합니다.
4. Next 를 클릭합니다.
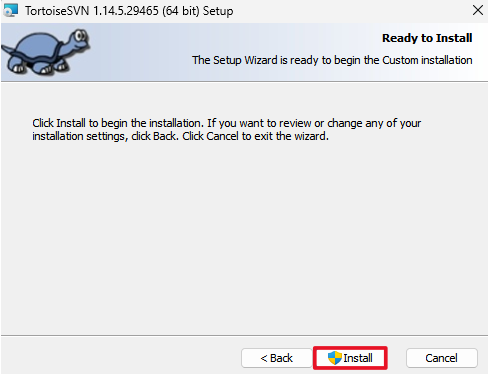
5. Install 을 클릭합니다.
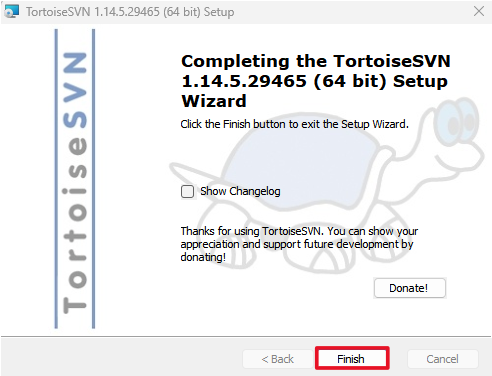
6. Finish 를 클릭하여 설치를 종료합니다.
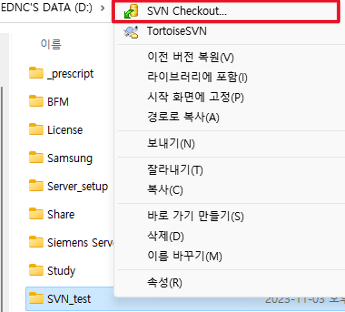
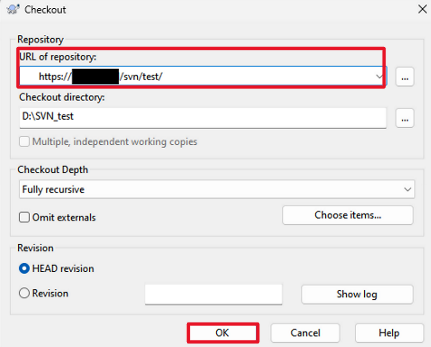
7. SVN 사용자용 설치를 완료했으면 SVN 서버와 내 컴퓨터를 연결해야 합니다. 먼저 저장소와 연결할 폴더를 생성하고 마우스 우클릭한 후 SVN Checkout 을 클릭합니다.
8. 서버에서 제공받은 저장소 URL 을 입력하고 OK 를 클릭합니다. 여기서 URL 은 SVN 서버 구축 방법 21번에서 공유한 URL 을 입력하면 됩니다.
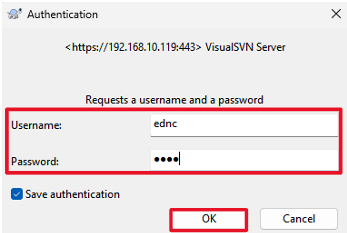
9. 사용할 User name 과 Password 를 입력하고 OK 를 클릭합니다.
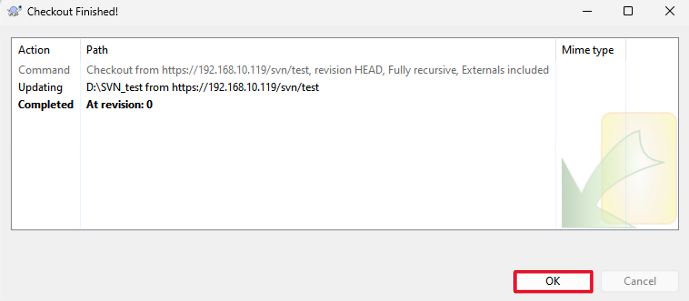
10. Checkout Finished! 창이 뜨고 연결이 완료되었으면 OK 를 클릭합니다.
<Tanner L-Edit Version Control>
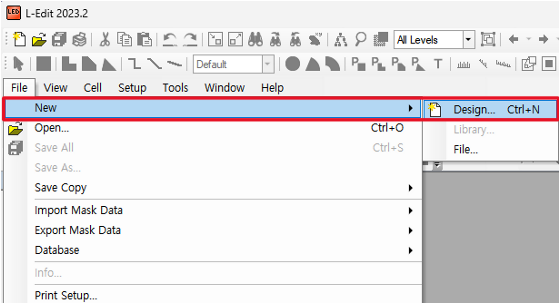
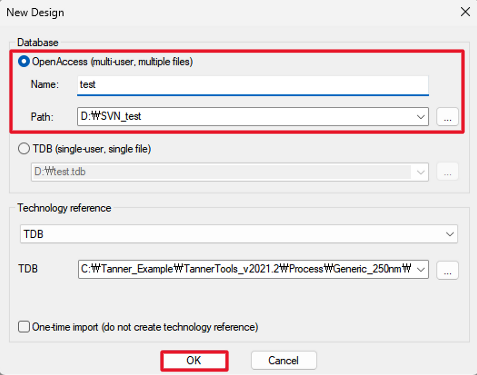
1. Tanner L-Edit 실행 후 File > New > Design 을 선택합니다.
2. Database 를 OpenAccess 로 선택하고 Name 과 Path 를 지정합니다. 이때 Path 는 SVN 저장소와 연결한 폴더의 경로로 지정하면 됩니다.
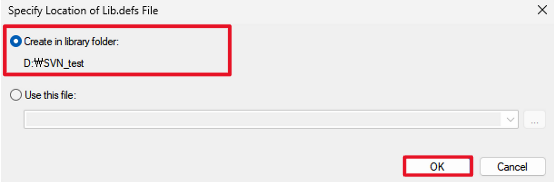
3. Create in library folder 를 선택 후 OK 를 클릭합니다.
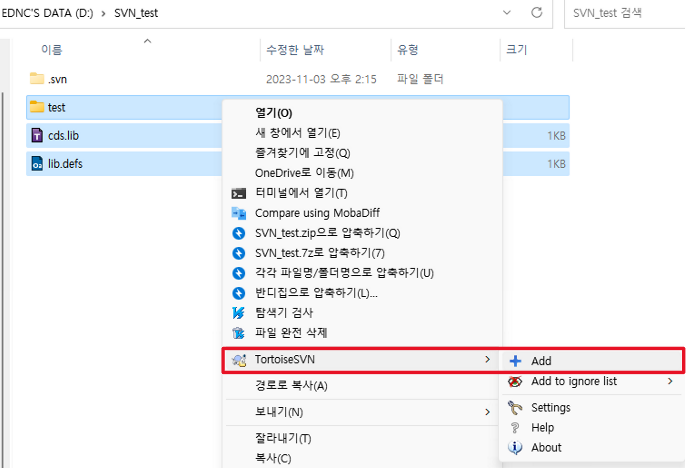
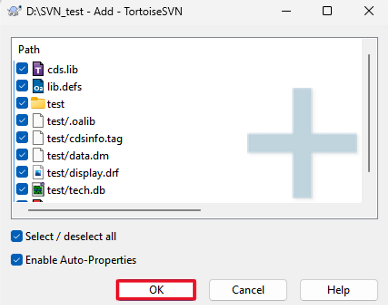
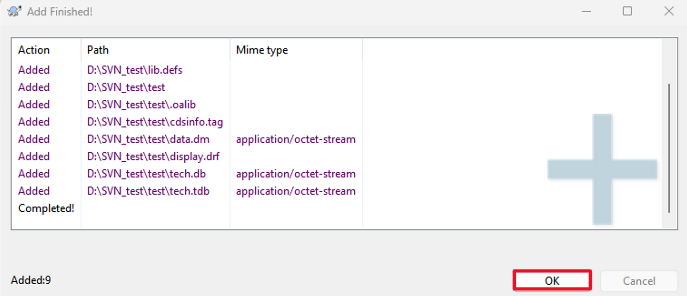
4. 저장소와 연결된 폴더에 새 파일들이 생성되었으면 모두 선택 후 마우스 우클릭 > TortoiseSVN > Add 를 누르고 OK > OK 를 클릭합니다.
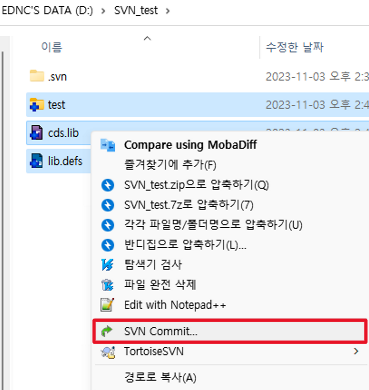
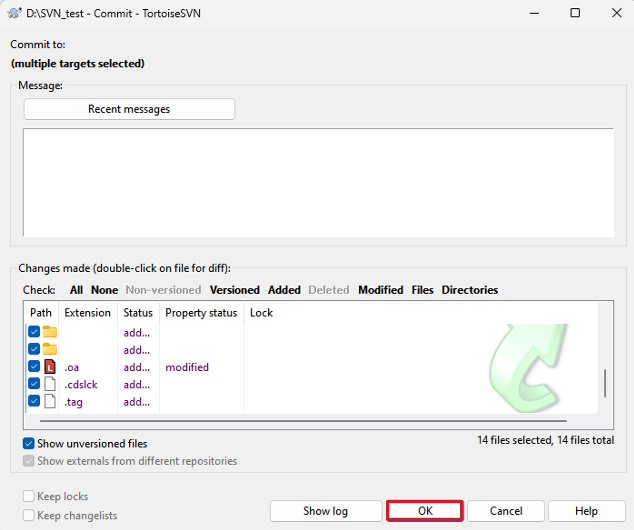
5. 다시 한번 모두 선택 후 마우스 우클릭 > SVN Commit 을 누르고 OK > OK 를 클릭합니다.

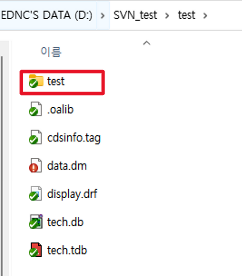
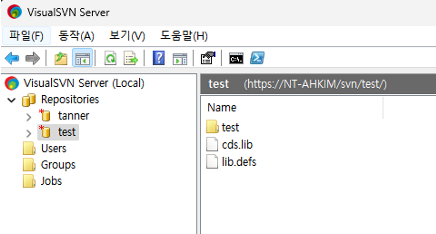
6. 여기까지 완료하면 아래와 같이 SVN 서버에 새 파일들이 업로드 됩니다.
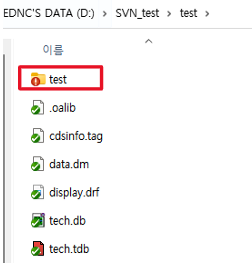
7. SVN 서버에 파일을 업로드 한 후, 열려있는 Tanner L-Edit 을 닫고 SVN Commit 한 파일에서 layout file 을 선택하여 다시 Tanner L-Edit 을 실행 후 Design 을 수정하면 아래와 같이 파일 앞에 느낌표 아이콘이 뜹니다.
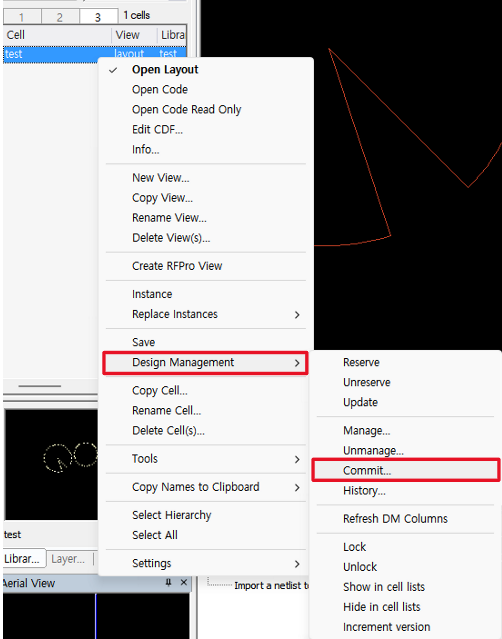
8. Tanner L-Edit 에서 Ctrl+S 를 눌러 먼저 디자인을 저장한 후 수정된 Cell 에서 마우스 우클릭 > Design Management > Commit 을 클릭합니다.
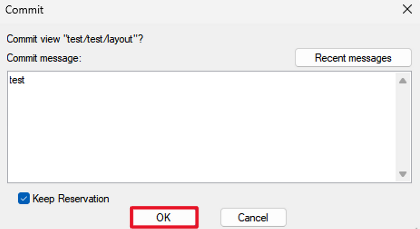
9. 아래와 같이 Commit message 를 작성하는 창이 나오면 comment 작성 후 OK 를 클릭합니다.
10. Commit 이 완료되면 수정한 파일에서 마우스 우클릭 > SVN Update & SVN Commit 하지 않아도 자동으로 Commit 이 되어서 파일 앞에 체크 아이콘이 뜬 것을 확인할 수 있습니다.